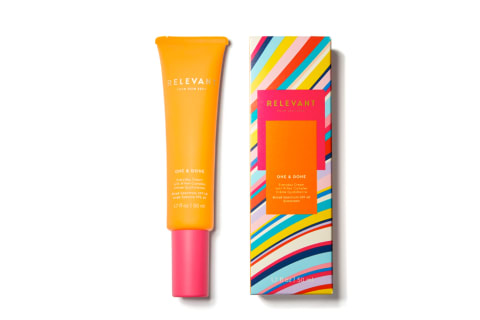
How To Do An At-Home Facial + Best Products To Try


Beauty editors are constantly fielding questions like, What are the best splurge-worthy skin care products? and What treatments and services are actually worth the investment?
My answer: You can never go wrong with a professional facial. You can find drugstore formulas and dupes aplenty, but there's little that can replicate those expert hands getting to know your skin.
Advertisement
That said, professional facials do often cost a pretty penny. I'm a firm believer in prioritizing professional care if it fits within your budget and lifestyle, but that doesn't mean you can't replicate a self-care moment in the comfort of your own home. Quite the contrary! Estheticians actually encourage crafting up an at-home facial every once in a while, and below, they provide their most trusted secrets for fresh, luminous skin.
Before moving on, I should note: You can find many types of facials depending on your specific skin concerns and goals—whether you're dealing with acne, fine lines, hyperpigmentation, etc. This at-home facial guide below provides a deep cleanse, some general self-care, and an allover glow. If you're looking for more targeted treatments, it's best to give your esthetician a ring.
- Double cleanse
- Steam
- Exfoliate
- Mask
- Tone
- Moisturize
- Seal
- Protect
Double cleanse
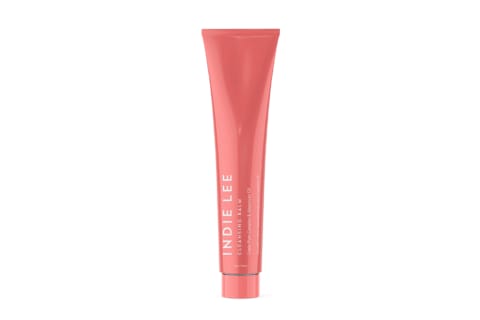
A clean canvas is necessary for all that follows, so we recommend starting with an oil cleanser or cleansing balm to dissolve lingering makeup and debris. Work the product into your skin by massaging in circles, making sure to be extra careful around the eyes.
"This is an excellent time to do some facial sculpting with your hands or gua sha," says holistic esthetician Lesley Thornton, founder of KLUR, since the oily formula provides just enough slip. Feel free to follow our nine-step face massage tutorial here, and grab one of these gua shas if you please.
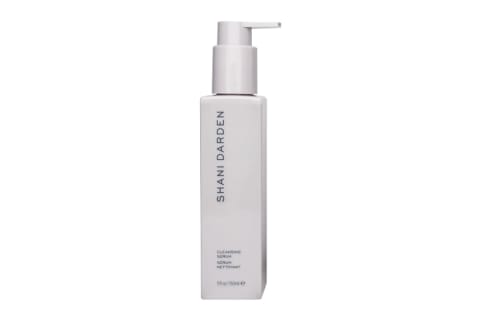
Next, follow up with a gentle water-based cleanser. "I always recommend double cleansing the skin with a gentle, nonstripping gel cleanser to ensure the skin is thoroughly cleansed," Thornton adds.
Steam
In a professional facial, an esthetician will use a steamer post-cleanse to open up the pores and make it easier for them to perform extractions. You won't be doing any self-surgery here (extraction at home is a no-go), but facial steaming comes with a host of other benefits. For instance, the warmth from the steam opens up the pores and loosens trapped dirt, bacteria, and sebum, which can make your exfoliating and hydrating products work even better.
"Facial steaming also dilates your skin blood vessels, which promotes healthy circulation to the skin," board-certified dermatologist Kim Nichols, M.D., founder of NicholsMD of Greenwich previously told mbg. Just make sure you're steaming correctly—you can find our full guide here.
However, not every step is appropriate for all skin types: Those with rosacea or melasma should avoid steaming as it can worsen these conditions.
Feel free to use a proper facial steamer if you have one, or you can use the DIY bowl method: "Use a bowl filled with hot water and place a towel over your head to trap in steam," says Thornton. You can also simply wrap your face with a hot, steamy towel. You have options!
Advertisement
Exfoliate
How often you exfoliate will ultimately depend on your skin type, but sloughing off dead skin can help your subsequent products absorb better later on and offer an immediate glow. "Whether your preference is physical or chemical, make sure it is appropriate for your skin type, and gently buff away dead skin cells," advises Thornton.
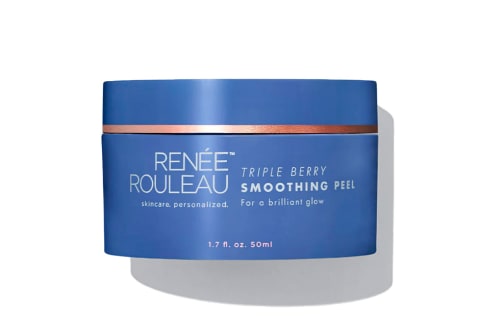
It might be easiest to use a mask here, be it an enzyme mask, chemical peel, or oil-absorbing clay formula. Save your leave-on products (like serums and toners) for your regular exfoliating regimen, when you're likely not layering on as many actives.
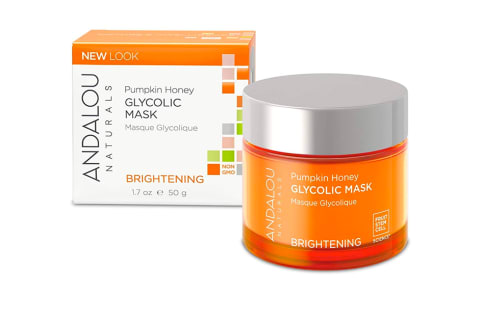
If you're looking to go the chemical route, esthetician Rachael Gallo, chief operating officer at Silver Mirror Facial Bar, prefers a glycolic acid-infused number: "[It] works on the surface layer of your skin by loosening the dead skin and sloughing away pigmented, dull, dead cells that cause acne and dark spots," she says. "Adding this to your at-home facial routine will allow more evenly pigmented skin to surface."
Mask
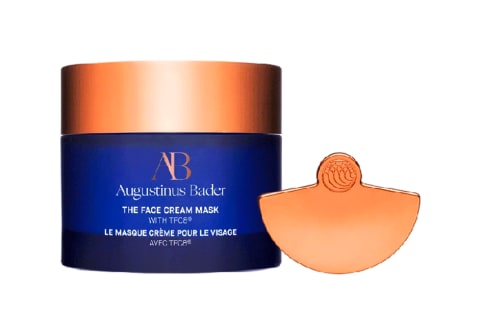
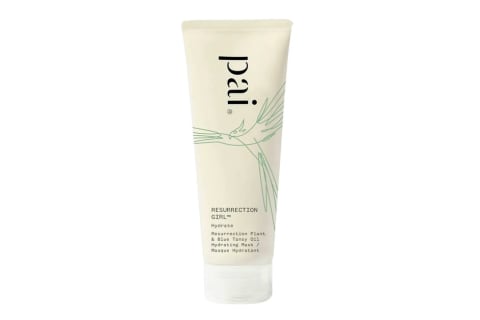
Follow your exfoliating step with a hydrating mask—you always want to feed your skin moisture post-exfoliation or scrub. Is an extra masking step absolutely necessary? Not quite, but "You can't go wrong with the additional hydration," says Thornton. That said, look for formulas with strictly nourishing, calming ingredients and brightening antioxidants. You definitely don't want to over-exfoliate.
Some people prefer to use a serum-soaked sheet mask instead of a cream-based formula. If you do go that route, feel free to grab a facial roller (if you have one) and run it over the mask—this can help the product further penetrate into your skin and sculpt your bone structure.
Tone
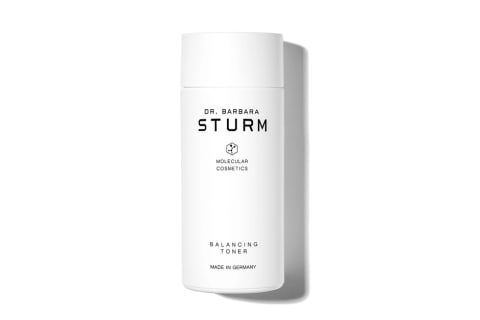
"Balance your skin's pH and prepare it for moisturization with a nourishing toner," says Thornton. Toners come in a few different forms—some purifying, others more hydrating and balancing. You’ll want to look for the latter, since you already exfoliated in step No. 3.
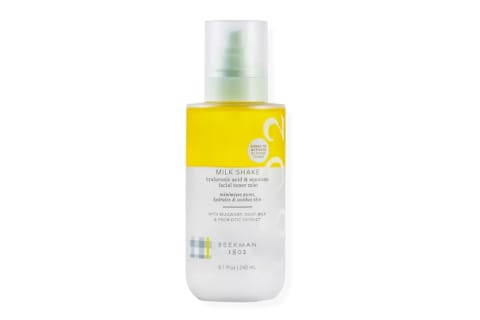
Thornton recommends snagging a light, refreshing mist with soothing ingredients (think chamomile or centella asiatica), but you can also shake a few drops into your palms and press it into your skin. Again, just make sure the ingredients are gentle and hydrating.
Moisturize
Up next: Moisturize. If you want to use a hydrating serum—like one with hyaluronic acid, CoQ10, or peptides—before your face cream, you can go right ahead. Just don't layer on all of your hydrating elixirs here: "Your skin can only absorb so much, so stick to one serum with restorative ingredients, like peptides and antioxidants, and then top it all off with a moisturizer to seal everything in," celebrity esthetician Renée Rouleau once told mbg.
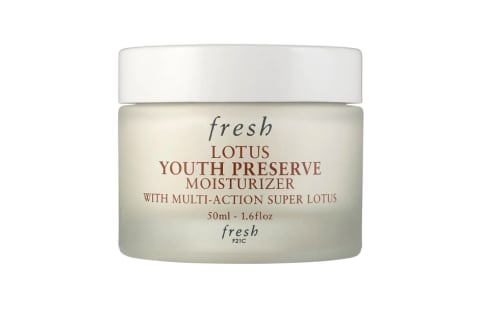
For your moisturizer, snag a cream with barrier-supporting ingredients, like ceramides, squalane, and shea butter, to restore and protect your skin.
"For an at-home facial performed at night, finish with an active night cream that will continue working long after you are asleep," says Gallo. Just make sure to avoid any exfoliators or retinol, lest you overwhelm your skin.
Seal
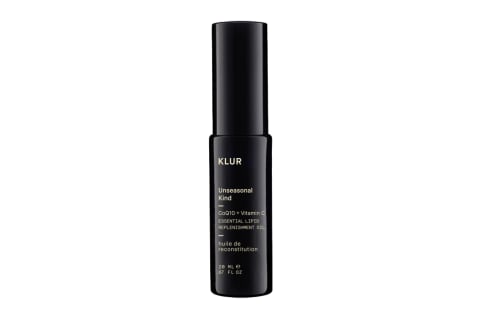
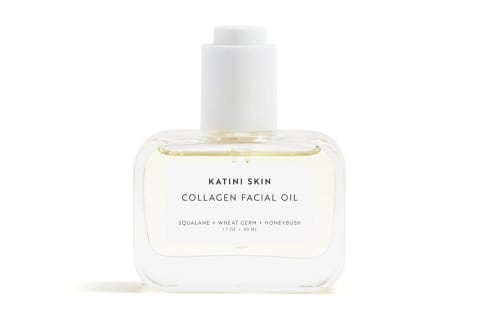
"End with a facial oil with lipids to replenish fats back to the skin and seal the barrier with skin-loving nutrients," says Thornton. Especially if you give yourself an at-home facial before bed, trapping everything in with an oil overnight is a surefire way to wake up with glowing, supple skin. Simply warm a few drops of oil in your palms then press it into your skin as the last step.
Protect
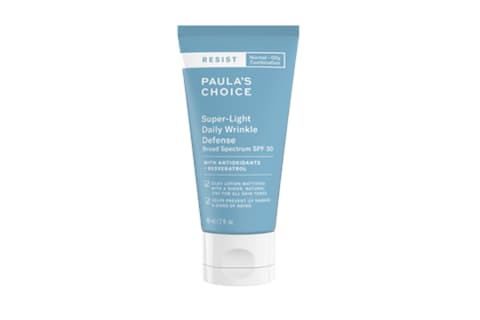
Or if you're doing your at-home facial in the morning, make sure to slather on a sunscreen as your final step. Your freshly exfoliating skin is especially vulnerable to UV rays, so you want to spend extra time applying enough SPF.
Advertisement
When to add tools
You don't need any fancy tools and gadgets to perform a quality at-home facial—but if you do have a device or two, you might be wondering when to fold them into the routine. Here, find a few common skin care tools and when to use them:
- Gua sha: As Thornton suggested, use a gua sha during your double-cleanse step. The oil cleanser provides enough slip to glide the tool across your jawline, cheekbones, etc. You never want to pull or tug at your delicate skin.
- Facial roller: Some massagers come with textured edges to knead tension, vibrating pulses to buzz away puffiness, and so on. Feel free to fold these in while you wait for your toner or serum to dry down. If you use a sheet mask, you can also massage your skin over the fabric to help with product absorption.
- LED mask: LED light therapy should be done on freshly cleansed skin, so use it before you apply any serums or moisturizers. Some professionals will use a device after cleansing and exfoliating the skin, so the LED can penetrate deeper into the dermis. That said, you can use it after rinsing off your exfoliating mask and before applying toner. You don't want any product lingering on the skin (especially physical SPF), as it can scatter or obstruct the light waves and reduce its efficacy.
- Microcurrent device: Microcurrent devices, too, need fresh, clean skin in order to do their job properly. After cleansing, steaming, and exfoliating, you can apply your conductive gel and get to work. Find our favorite options here.
- Ice globes: Ice globes are meant to simply cool the skin, relax facial muscles, and de-puff the face. So you can whip them out any time! Personally, I like to use them over a sheet mask or after my moisturizer has dried down. It's a lovely way to end your at-home facial.
Advertisement
Extra tips
Any overachievers out there? These tips will help you go all out:
- Set the mood: "As a bonus, add a scent to a diffuser to promote deep relaxation and ground the mind," Thornton says. Feel free to also light candles, set intentions, spritz a room spray…whatever floats your boat.
- Prep your space: The aesthetic can elevate the spa-grade experience. Consider laying out clean, fluffy face towels, a hair wrap or scarf, and a clip or two to keep your hair out of the way. Make sure all of your tools are cleaned and ready to go—digging through your bathroom cabinet can take away from the zen experience. On that note: "Do not reuse washcloths after each step," adds Gallo.
- Prioritize internal care: True skin care involves way more than topicals! After finishing your facial, amp up the self-care by sipping on antioxidant-rich herbal tea or a skin-supporting collagen latte—and don't forget to hydrate throughout the day. A lit-from-within glow should start from within, no?
Advertisement
We'd be remiss not to mention here that some treatments should not (we repeat: not) be done at home. Always leave heavy-duty therapies, like professional-grade chemical peels, derma rolling, microdermabrasion, and extractions, to the experts. "Trust us when we say it's always best to consult a professional about these procedures," notes Thornton.
How often should you do an at-home facial?
Experts recommend booking a professional facial once a month at the most; it's a pretty deep clean, so you don't want to overwhelm your skin. At-home facials, however, tend to be a little less intense, so you can add it to your weekly rotation if you'd like. "If you can, doing an at-home facial once a week is a great way to give your skin a little extra love and keep it happy," says Rouleau.
If you feel like that's too quick of a cadence to maintain, feel free to give yourself a deep facial twice a month. Of course, you don't always have to pull out all the stops: "Self-care routines can be more frequent and don't always need to include an elaborate facial routine," says Thornton. With skin care, always remember that consistency is key.
Summary
The takeaway
Fancy an at-home facial? Done correctly, the DIY treatment can leave you with a hydrated, allover glow. If you're looking to target specific skin concerns, though (dark spots, fine lines, and the like), you might want to book a professional appointment, too: Feel free to peek at our full guide to facials to help you navigate the spa menu.

Jamie Schneider is the Beauty & Wellness Editor at mindbodygreen. She has a B.A. in Organizational Studies and English from the University of Michigan, and her work has appeared in Coveteur, The Chill Times, and Wyld Skincare. In her role at mbg, she reports on everything from the top beauty industry trends, to the gut-skin connection and the microbiome, to the latest expert makeup hacks. She currently lives in New York City.
